![]() How to install ArchEX 64bit to hard drive
How to install ArchEX 64bit to hard drive
This can be done in two ways, the “normal” Arch Linux way or using Calamares Installer (System Installer). When installing the “normal” way you can add programs which is not included in my Arch Linux Build (ArchEX). When using ArchEX Installer you will get an exact copy of the ArchEX system on your hard drive. After that you can of course install all “extra” packages you want.
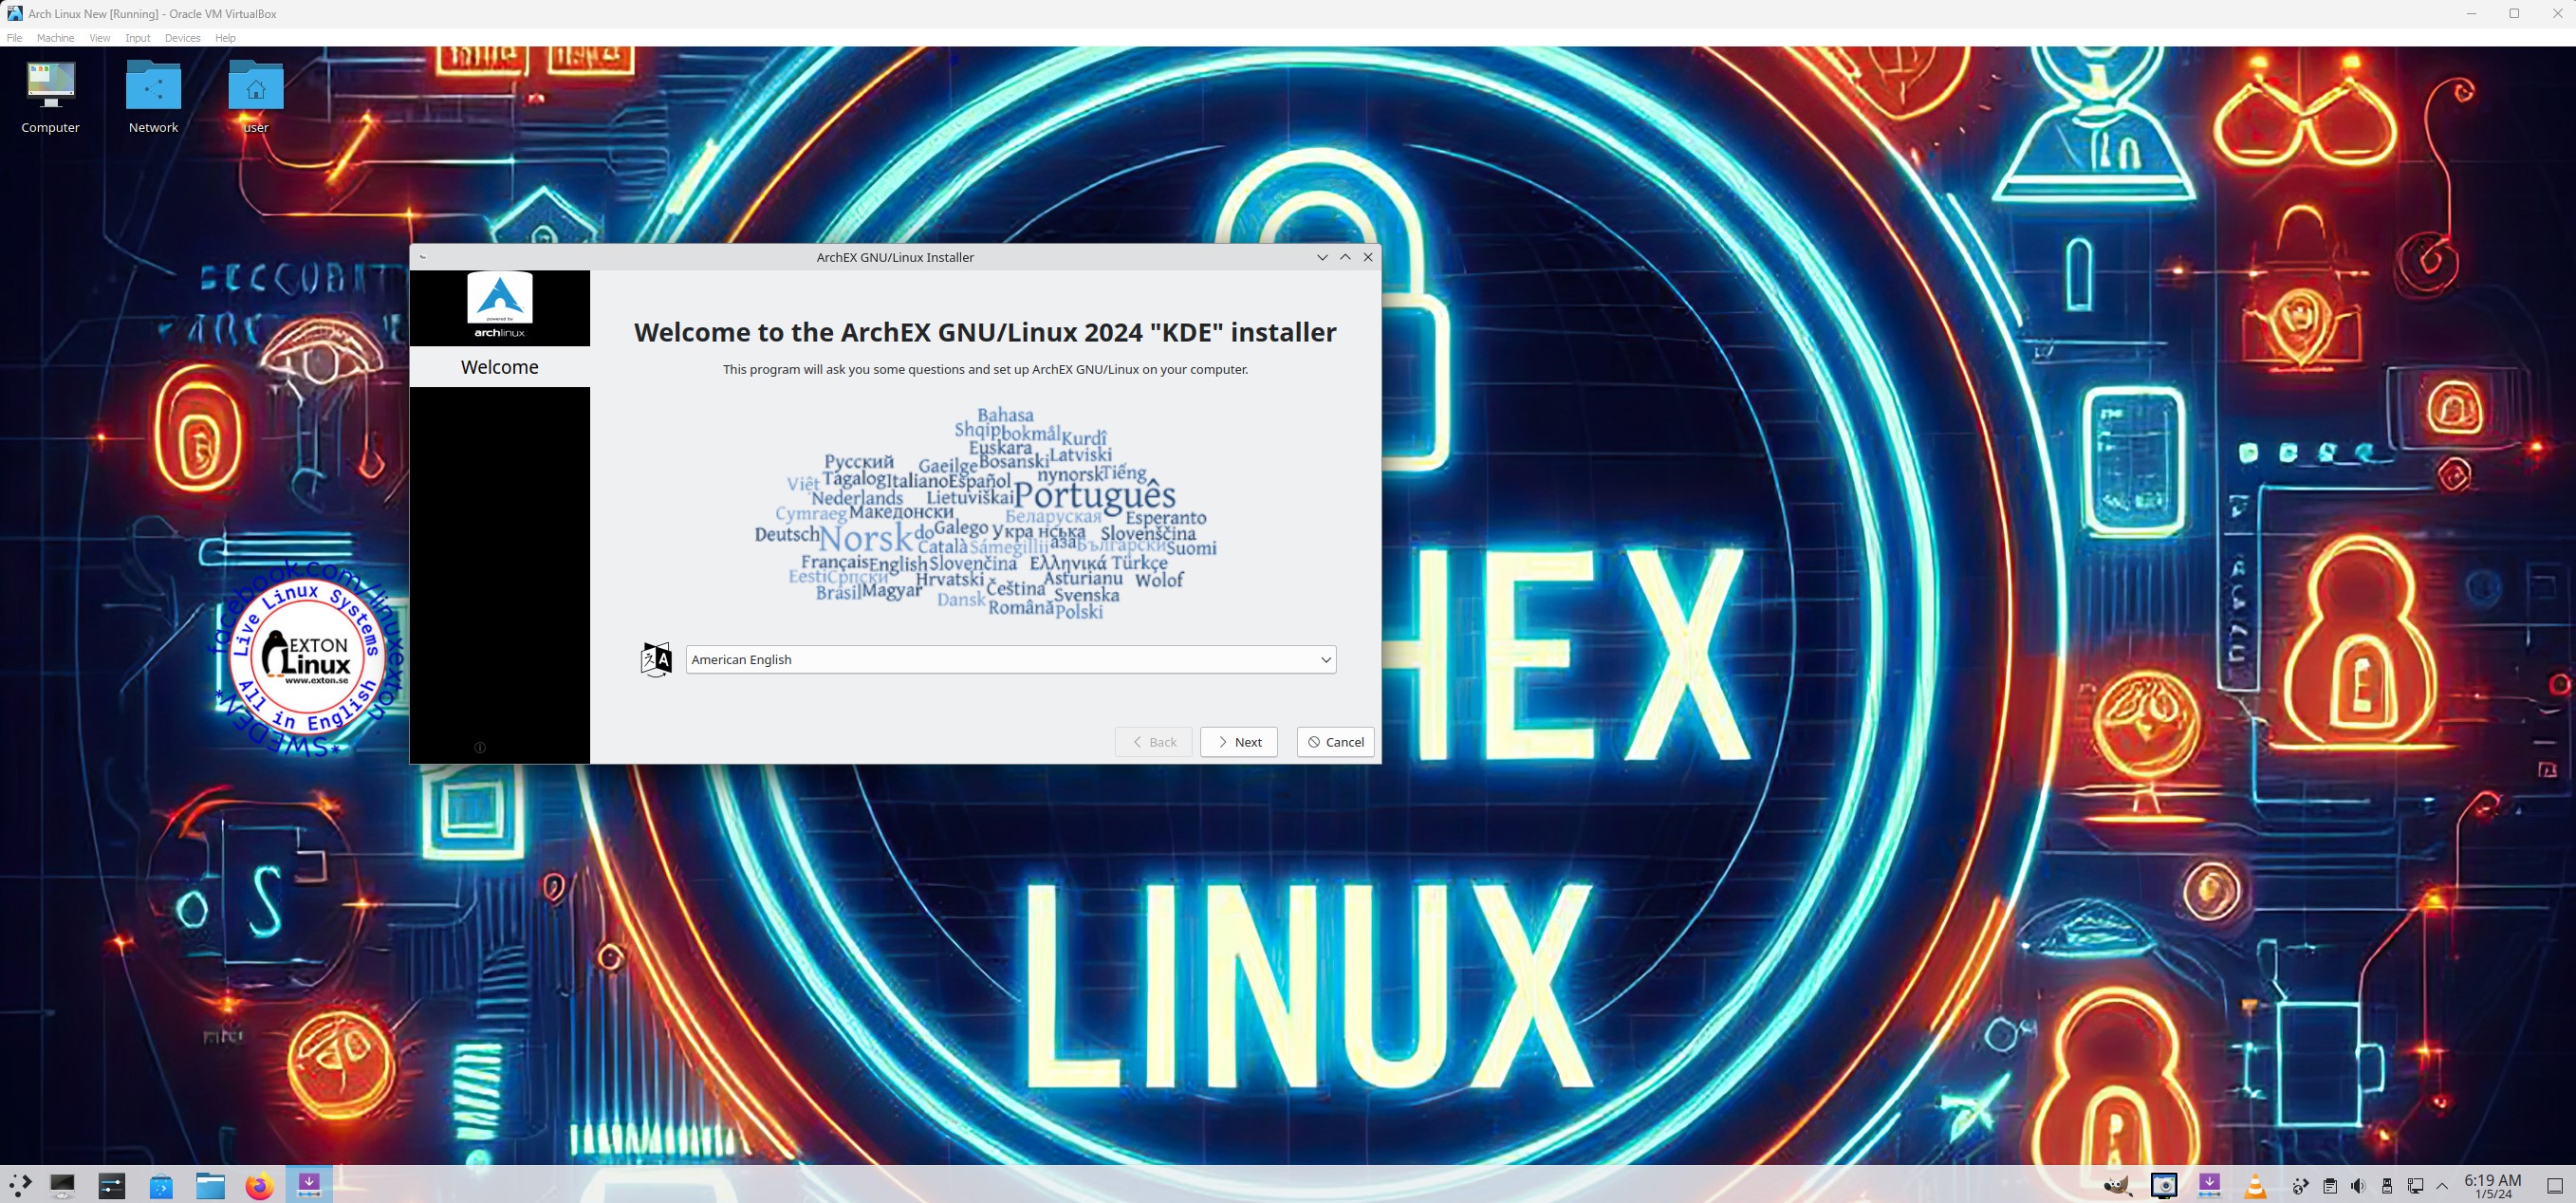
1) Using Calamares Installer (ArchEX new Installer)
Start Calamares from the LXQt menu >> System Tools >> ArchEX Installer. Go through every step. Watch a slideshow below showing all Calamares installation steps. As regards ArchEX Build 190612 you’ll have to install the boot loader Grub manually (if you need it). Run the following commands (after you have closed the Calamares Installer).
sudo su
mkdir /mnt/sda1
mount /dev/sda1 /mnt/sda1
arch-chroot /mnt/sda1
grub-install /dev/sda
grub-mkconfig -o /boot/grub/grub.cfg
exit
Change the commands to suit your hard drive installation of ArchEX. I.e. if you need Grub. NOTE: The Calamares Installer works perfectly well in ArchEX Build 240106. I.e. you don’t have to chroot and install Grub.
The Calamares Installer now works perfect.

NOTE/WARNING
You should not trust Calamares/ArchEX to replace a working Grub configuration on an UEFI computer. I mean if you already have a ESP (EFI System Partition). Instead you should read my article “How To dual boot, triple boot or multi boot Linux with Windows in a simple way and be happy”. I.e. you should install ArchEX without installing Grub. Just edit /boot/grub/grub.cfg on the partition where you have Grub installed. Add the following start lines for ArchEX:
menuentry ‘ArchEX Install 240106 (sda5-Samsung_T5)’ –class arch –class gnu-linux –class gnu –class os $menuentry_id_option ‘osprober-gnulinux-simple-74ec6153-873d-4617-9d9a-873444c273fc’ {
recordfail
load_video
insmod gzio
if [ x$grub_platform = xxen ]; then insmod xzio; insmod lzopio; fi
insmod part_gpt
insmod ext2
if [ x$feature_platform_search_hint = xy ]; then
search –no-floppy ‐‐fs-uuid ‐‐set=root 74ec6153-873d-4617-9d9a-873444c273fc
else
search –no-floppy ‐‐fs-uuid ‐‐set=root 74ec6153-873d-4617-9d9a-873444c273fc
fi
linux /boot/vmlinuz-linux root=UUID=74ec6153-873d-4617-9d9a-873444c273fc rw splash
initrd /boot/initramfs-linux.img
}
NOTE1: You shall of course change UUID to suit your setup. NOTE also: On one of my UEFI computers I have10 (10) OS installed today. Windows 11, ArchEX and eight (8) other Linux systems. Study my Grub configuration.
NOTE2: As regards ArchEX Build 240106 there is a “bug”, which makes the system unbootable if you let Calamares Installer format your install partition. You’ll have to format the install partition in another Linux system in advance. I.e. before starting Calamares. Before starting the real installation it should look like this – screenshot. The best way (possibly) to avoid filesystem errors is to install ArchEX on an ext3 partition.
To do when you start up ArchEX from hard drive for the first time
You can now login to Deepin or LXQt from LightDM login screen as your own created user or as user exton (as when running ArchEX live).
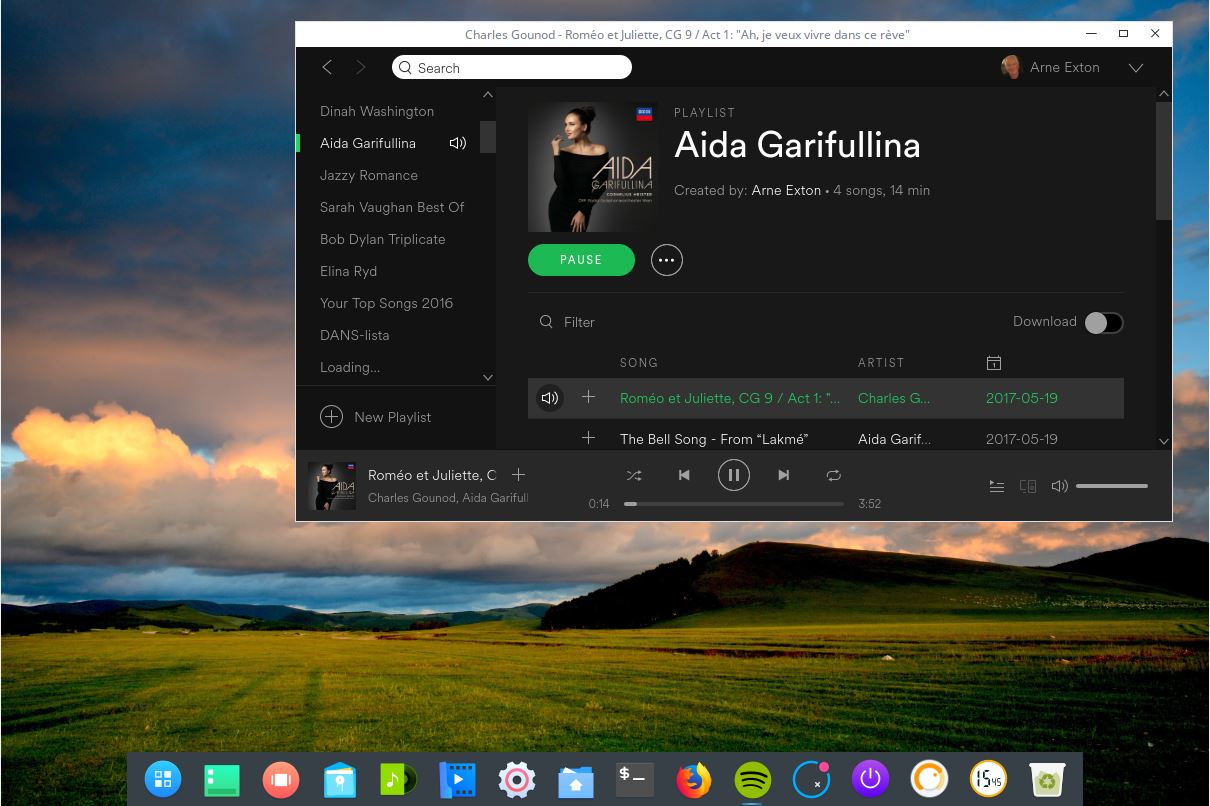
1. One of the cool things about Arch Linux is the Arch User Repository (AUR), where users can add their favorite packages to Arch. Read this instruction how to install Yay. When you have installed Yay you can install for example Spotify. Watch this screenshot when Spotify is running in ArchEX.
2. To set the keyboard layout in X permanently you shall add the following two lines to ~/.xinitrc (example for Sweden):
setxkbmap se &
3. Create a new ordinary user with the command useradd -m -G wheel,users,audio,storage -s /bin/bash MyNewUser
3b. Set a password for the new user with the command passwd MyNewUser
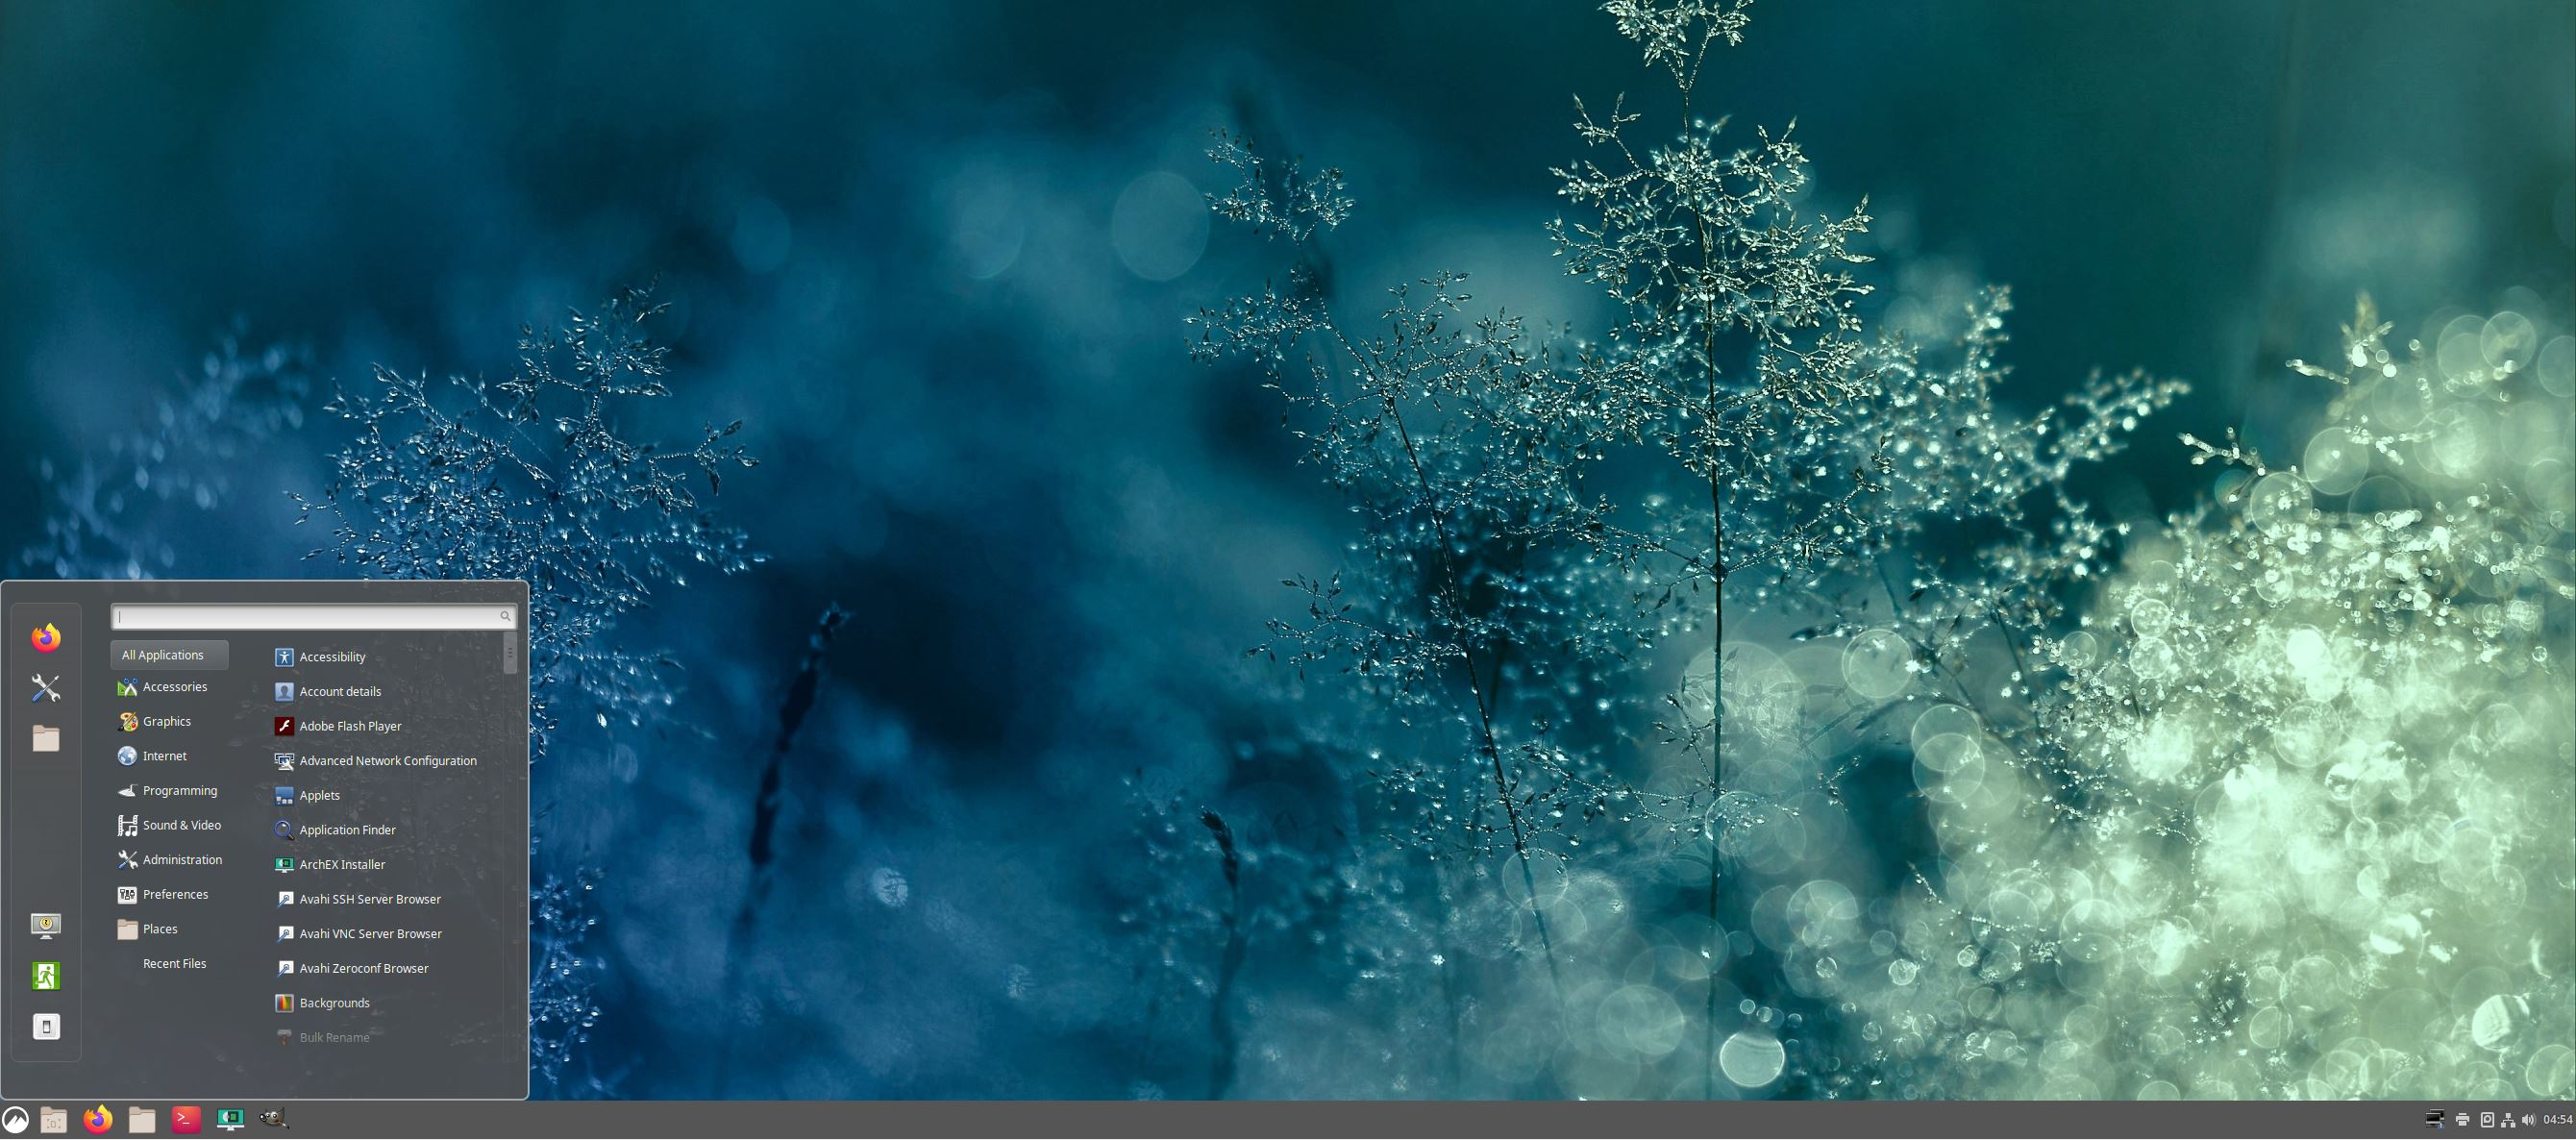
4. Possibly go on and install the Cinnamon and/or KDE Plasma Desktops. Screenshot when Cinnamon is running in ArchEX
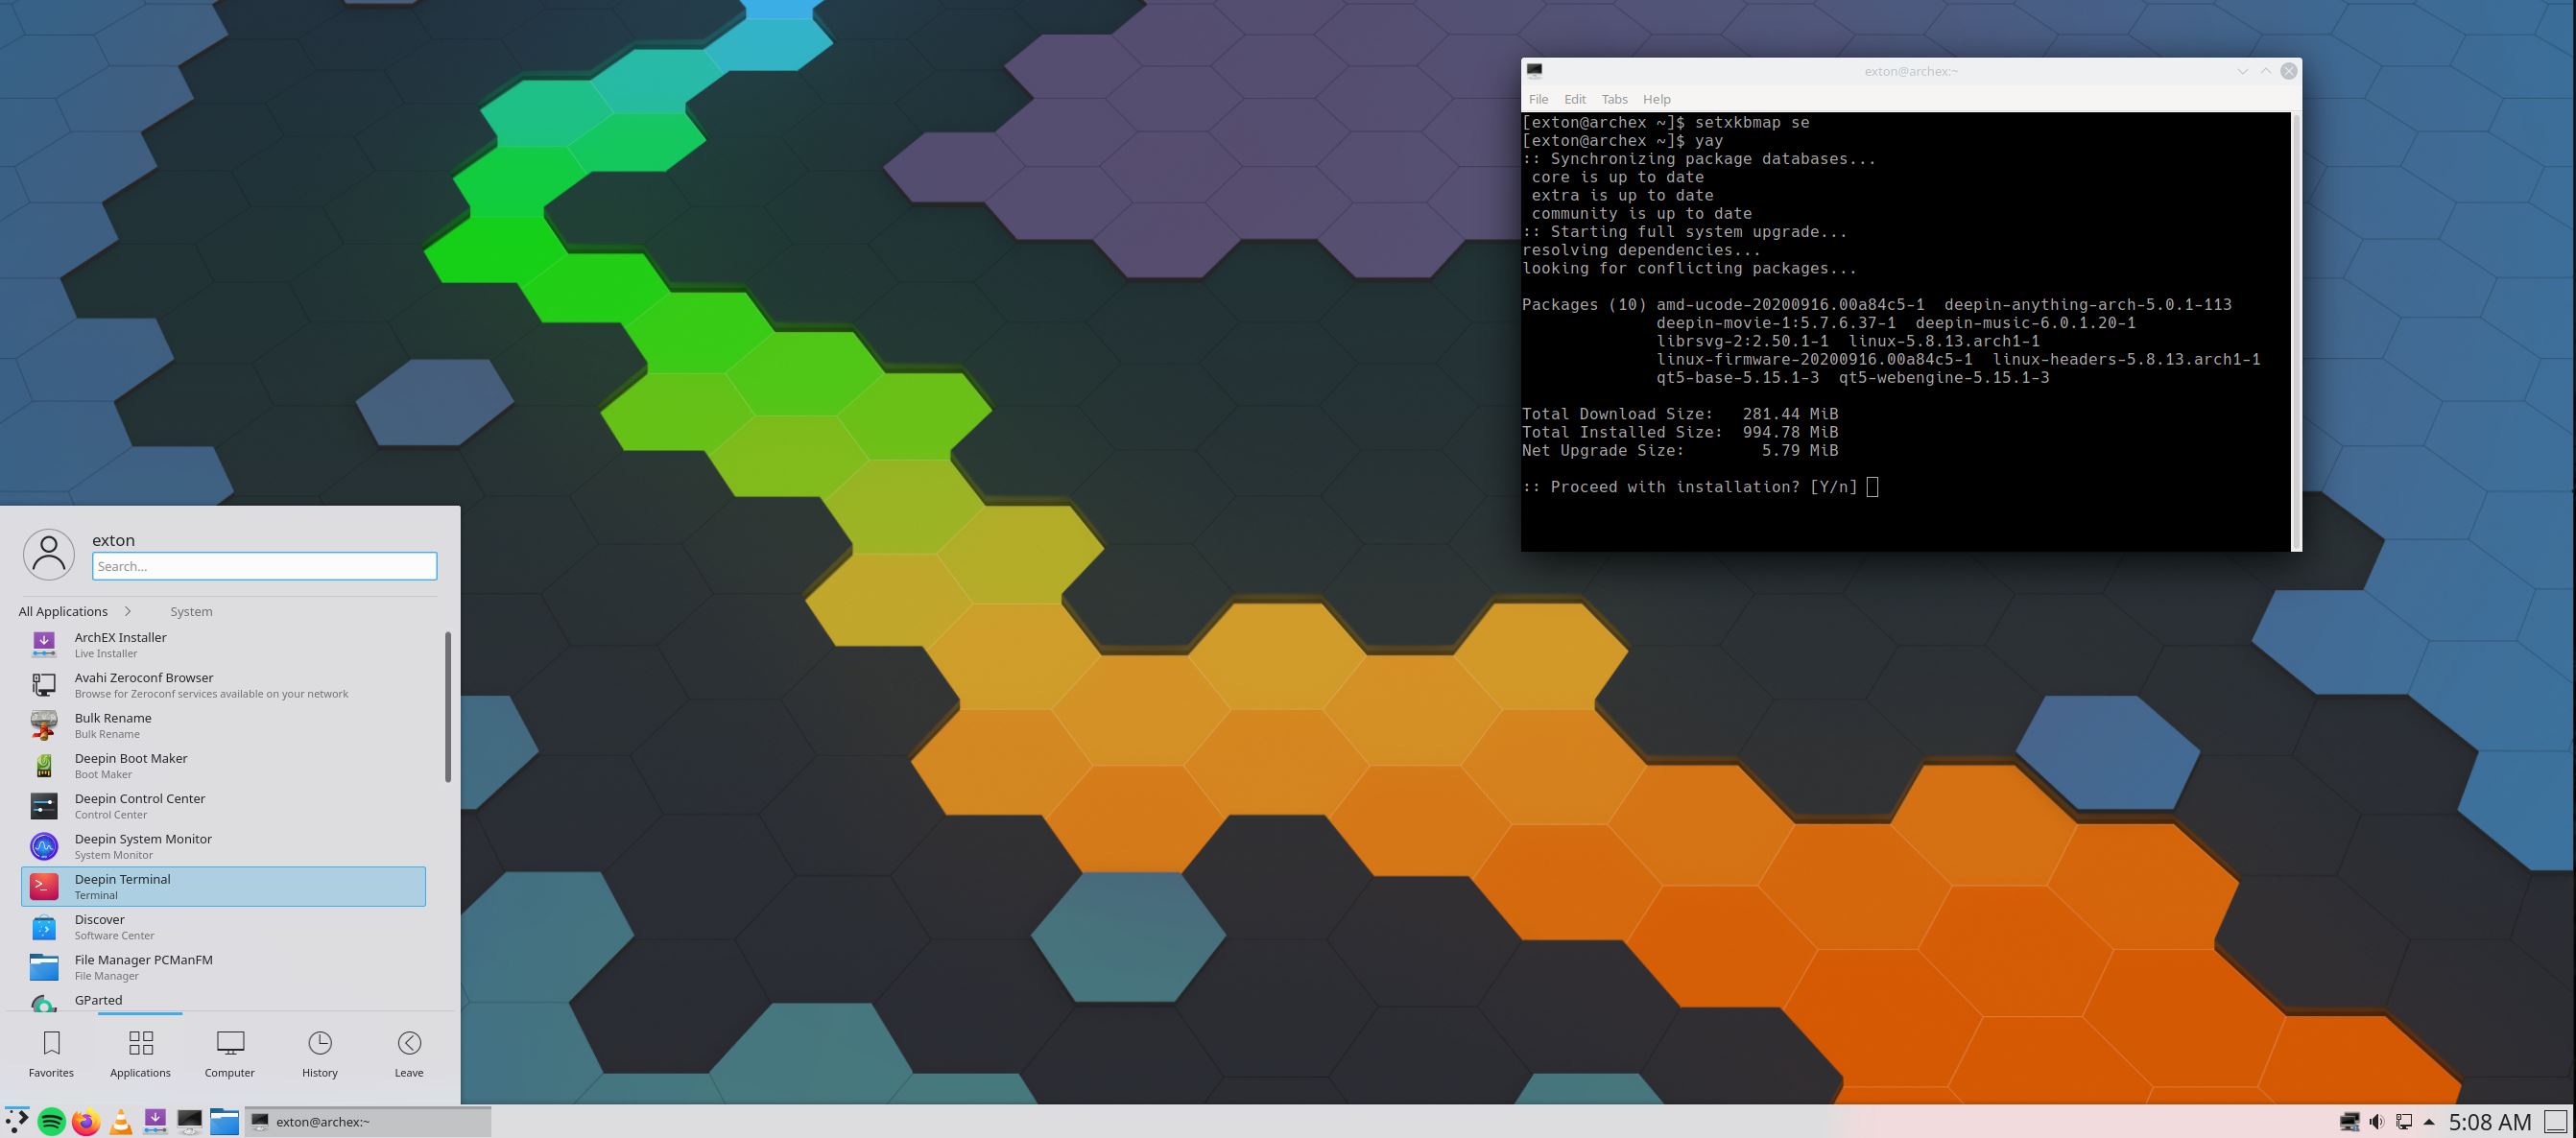
Screenshot when KDE is running in ArchEX
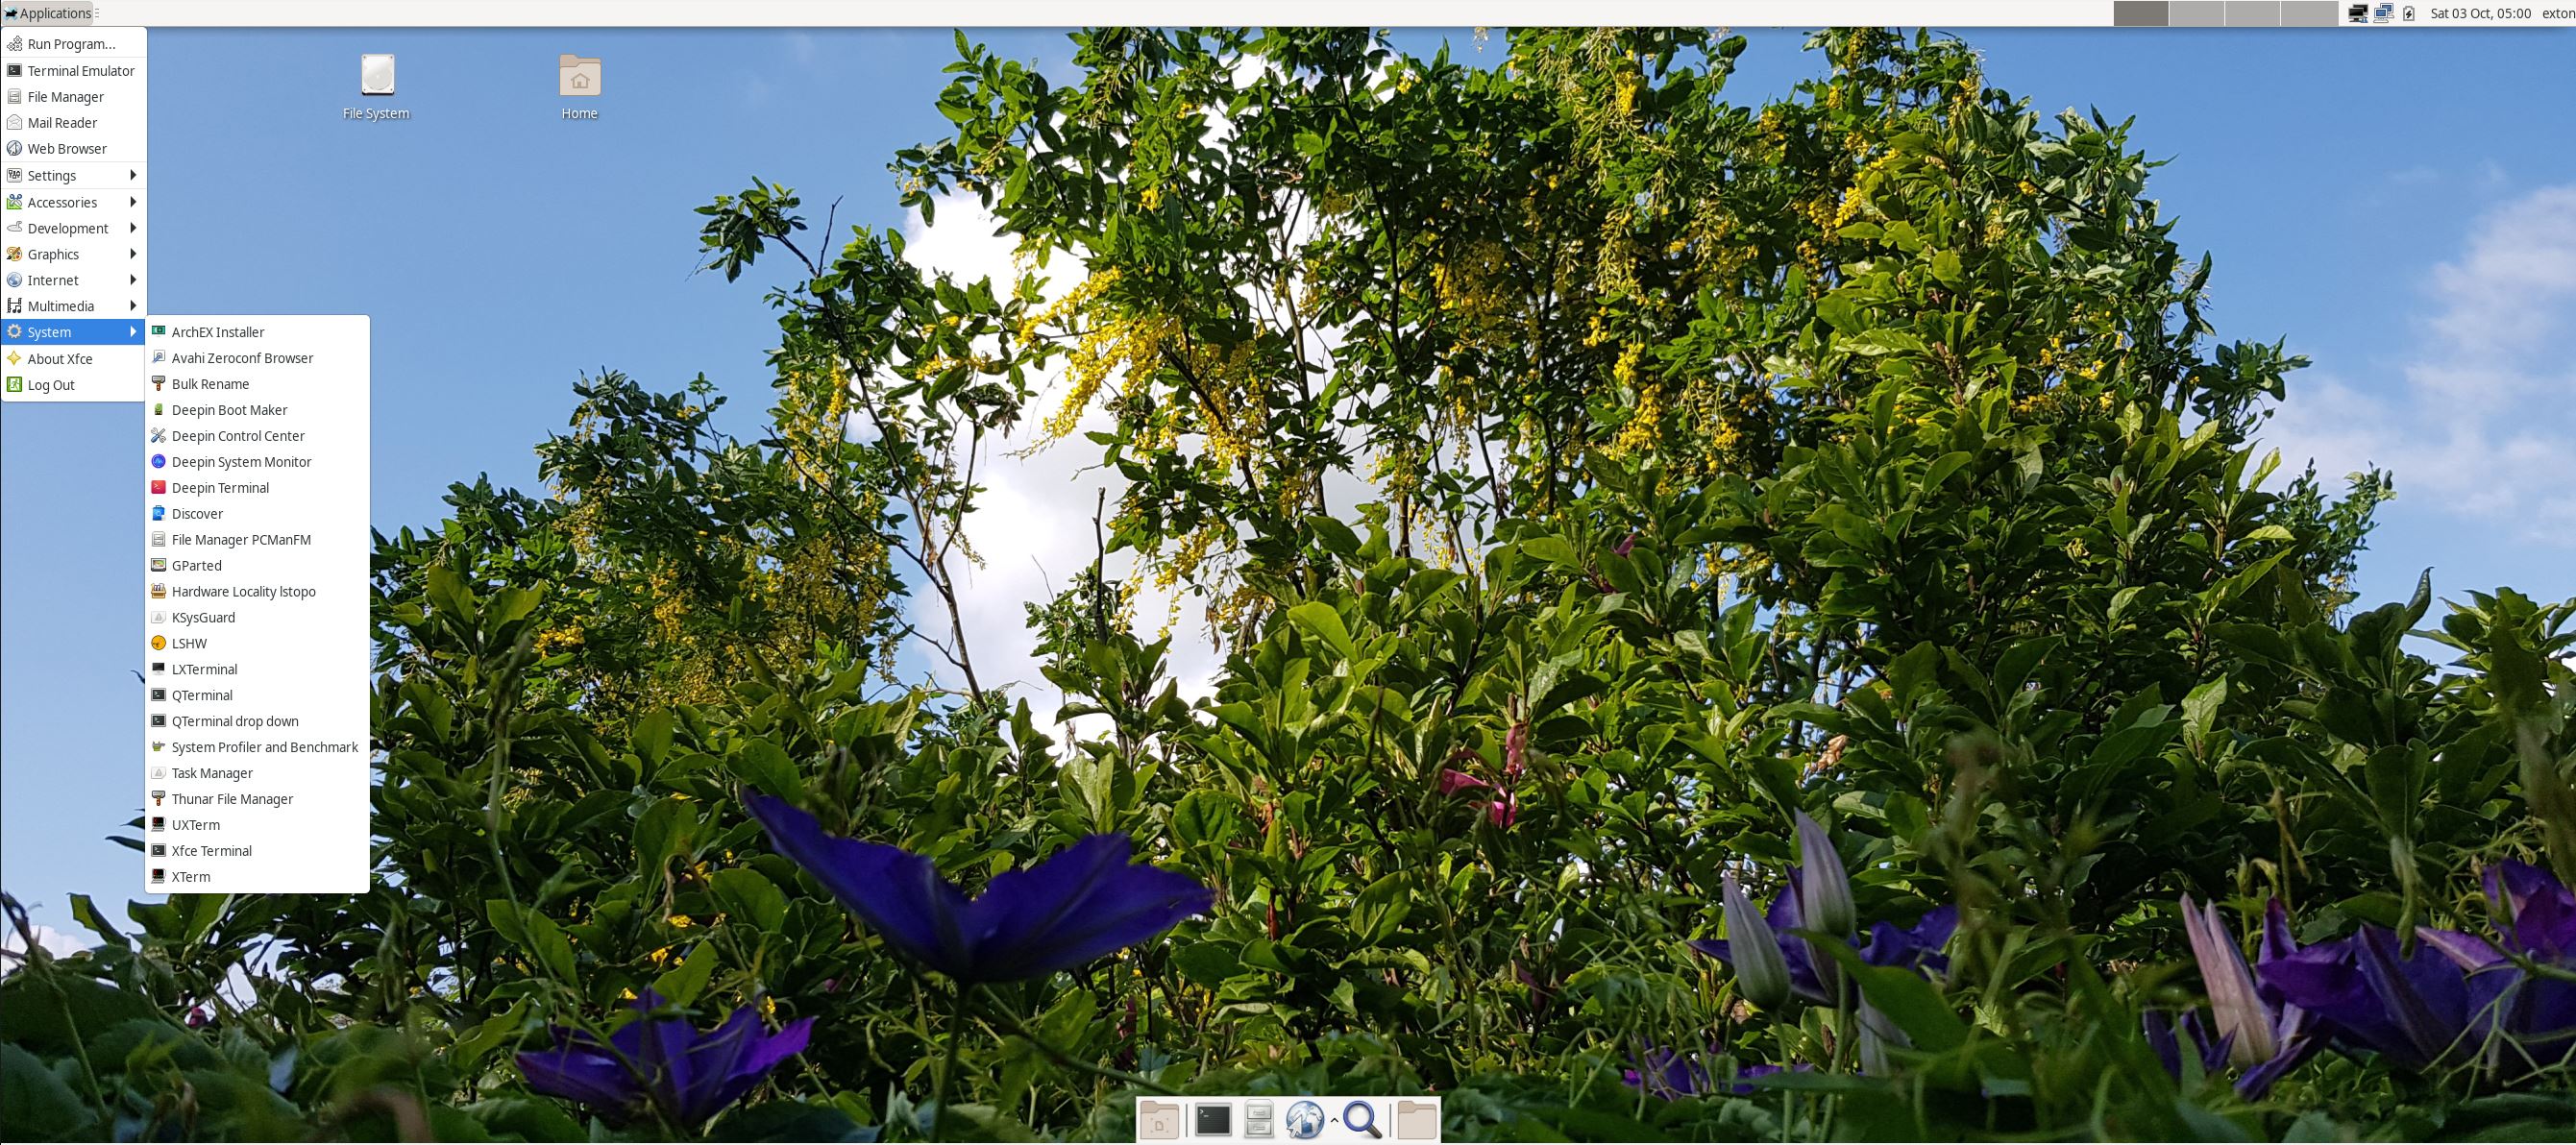
7. Or perhaps you prefer the Xfce4 Desktop Environment – screenshot – or Enlightenment – screenshot.
2) Installing the normal Arch Linux way
A. Use Arch Linux official live DVD and boot up your computer from it. Read the official installation guide before that and take notes.
B. Start up your computer with ArchEX Build 240106 and read the official Arch Linux instructions – install.txt (included in /root in ArchEX) and the Arch Linux Installation Guide. Or just follow my example below. All Arch Linux installation scripts are included in ArchEX. In the example below I use /dev/sda5 as install (root) partition. Run the following commands etc:
NOTE: It is really very simple! KISS!
mkfs.ext4 /dev/sda5
mount /dev/sda5 /mnt
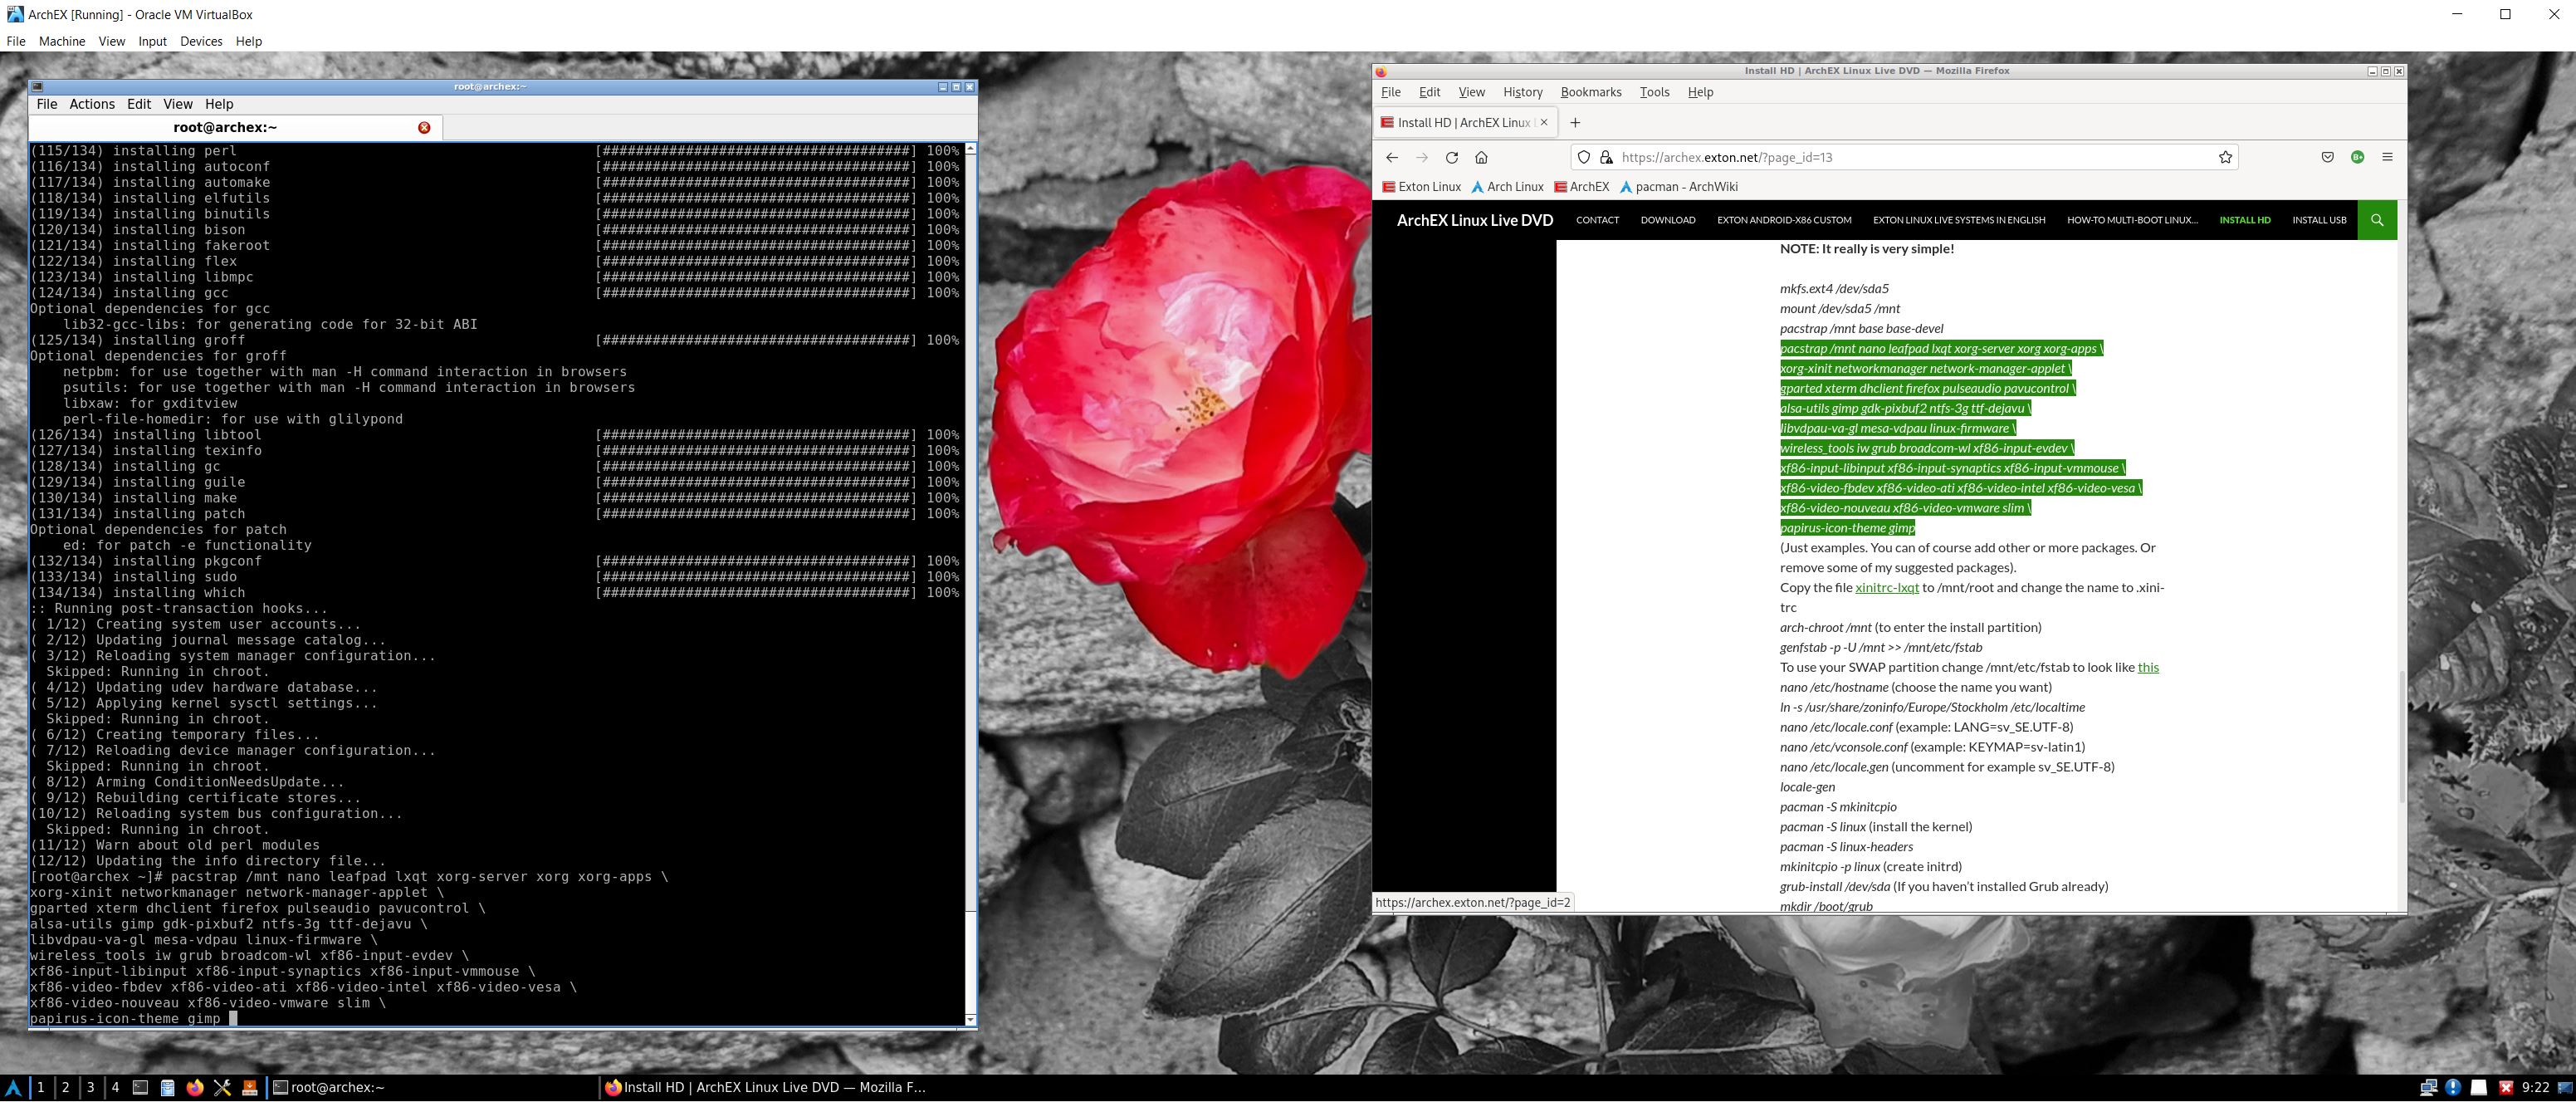
pacstrap /mnt base base-devel
pacstrap /mnt linux-firmware leafpad lxqt xorg-server xorg xorg-apps \
xorg-xinit networkmanager network-manager-applet \
gparted xterm dhclient firefox pulseaudio pavucontrol \
alsa-utils gimp wget cpio gdk-pixbuf2 ntfs-3g ttf-dejavu \
libvdpau-va-gl rsync mesa-vdpau linux-firmware \
wireless_tools iw grub broadcom-wl xf86-input-evdev \
xf86-input-libinput xf86-input-synaptics xf86-input-vmmouse \
xf86-video-fbdev xf86-video-ati xf86-video-intel xf86-video-vesa \
xf86-video-nouveau xf86-video-vmware slim squashfs-tools \
cifs-utils samba smbclient gvs-smb leafpad nano gparted gpicview \
papirus-icon-theme gimp zstd zip amd-ucode intel-ucode
Watch this screenshot…
Everything above marked in blue color is ONE command.
(Just examples. You can of course add other or more packages. Or remove some of my suggested packages).
Copy the file xinitrc-lxqt to /mnt/root and change the name to .xinitrc
genfstab -p -U /mnt >> /mnt/etc/fstab
arch-chroot /mnt (to enter the install partition)
To use your SWAP partition change /mnt/etc/fstab to look like this
nano /etc/hostname (choose the name you want)
ln -s /usr/share/zoninfo/Europe/Stockholm /etc/localtime
nano /etc/locale.conf (example: LANG=sv_SE.UTF-8)
nano /etc/vconsole.conf (example: KEYMAP=sv-latin1)
nano /etc/locale.gen (uncomment for example sv_SE.UTF-8)
locale-gen
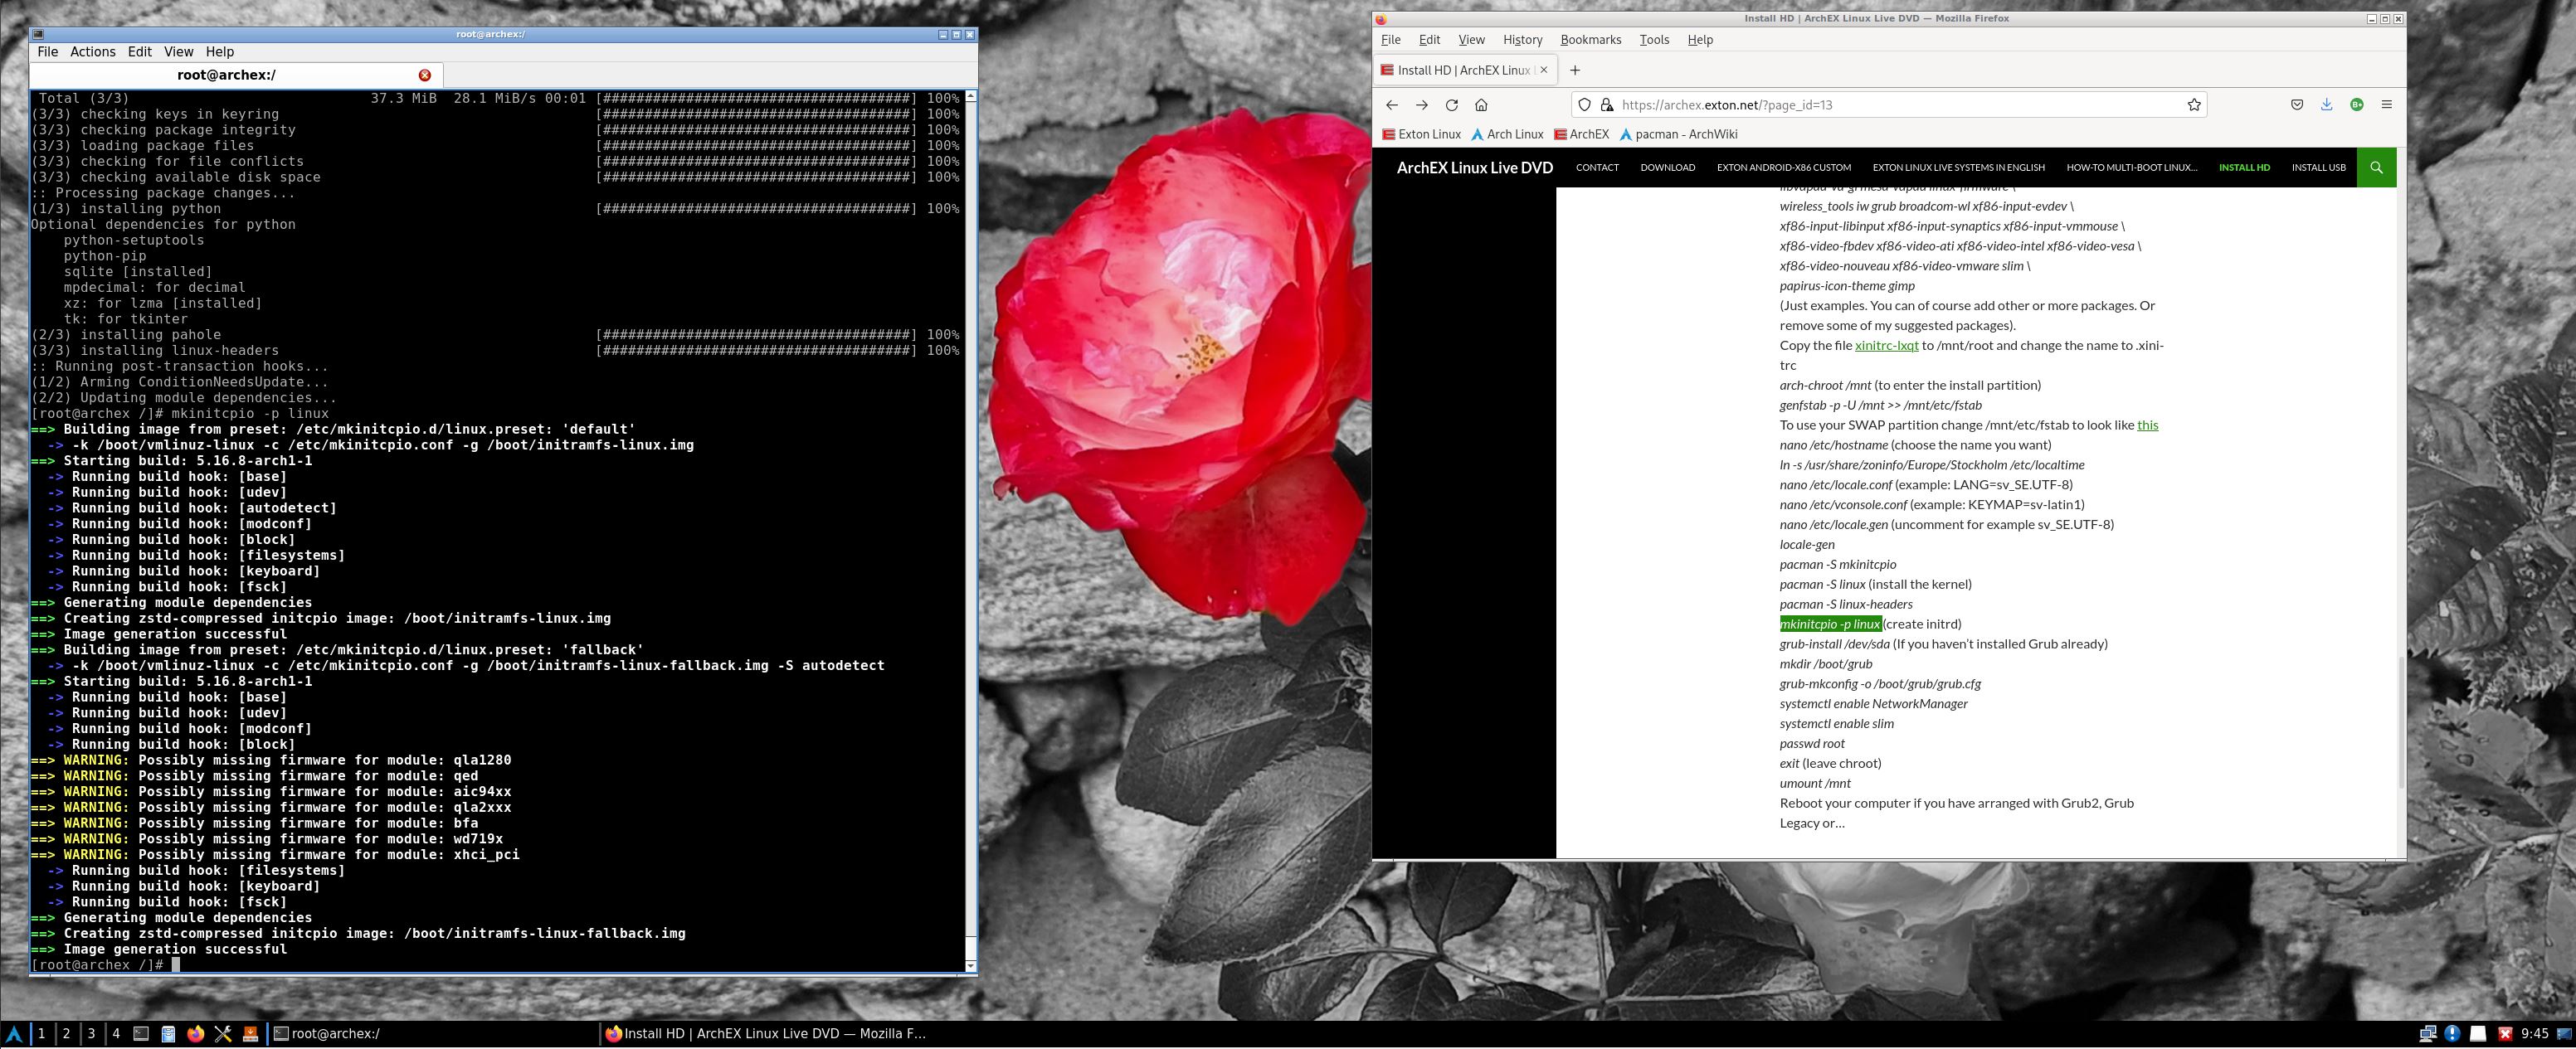
pacman -S mkinitcpio
Watch this screenshot…
pacman -S linux-headers
mkinitcpio -p linux (create initrd)
grub-install /dev/sda (If you haven’t installed Grub already)
grub-mkconfig -o /boot/grub/grub.cfg
systemctl enable NetworkManager
systemctl enable slim
passwd root
exit (leave chroot)
umount /mnt
Reboot your computer if you have arranged with Grub2, Grub Legacy or…
NOTE1: The whole installation process will only take about 15 minutes. If you are unfamiliar with Arch Linux it could be wise to do a “test” installation in VirtualBox or Qemu before doing a real hard drive install. You can have my instruction up in Firefox while installing as this screenshot shows. When installing from Arch Linux official live DVD you’ll have to do it in console mode. If you install Arch Linux in VirtualBox or Qemu you can do it in full screen. VirtualBox Guest Additions are pre-installed in ArchEX Build 241117 and 240106. Watch this screenshot. In Qemu you can just choose the screen resolution you want.
NOTE2: As regards ArchEX Build 240106 there is a “bug”, which makes the system unbootable if you let Calamares Installer format your install partition. You’ll have to format the install partition in another Linux system in advance. I.e. before starting Calamares. Before starting the real installation it should look like this – screenshot. The best way (possibly) to avoid filesystem errors is to install ArchEX on an ext3 partition.
NOTE2: You can also study (and use) my instruction SIMPLE-INSTALL-OF-ARCH-LINUX.txt, which give you an example how to install Arch Linux with the LXQt DE and have the system ready for everyday use after reboot.
IMPORTANT NOTE ABOUT ArchEX Build 241117
ArchEX with MATE works very well when running live on my six computers. Calamares Installer is not installed in Build 241117. You can nevertheless install ArchEX Build 241117 to hard drive if you follow my instructions…
It is quite simple. Basically only ONE command is needed.
How To dual boot, triple boot or multi boot Linux with Windows in a simple way and be happy
Before installing ArchEX/Arch Linux or any other Linux system my general installation instructions may be of interest.
![]()